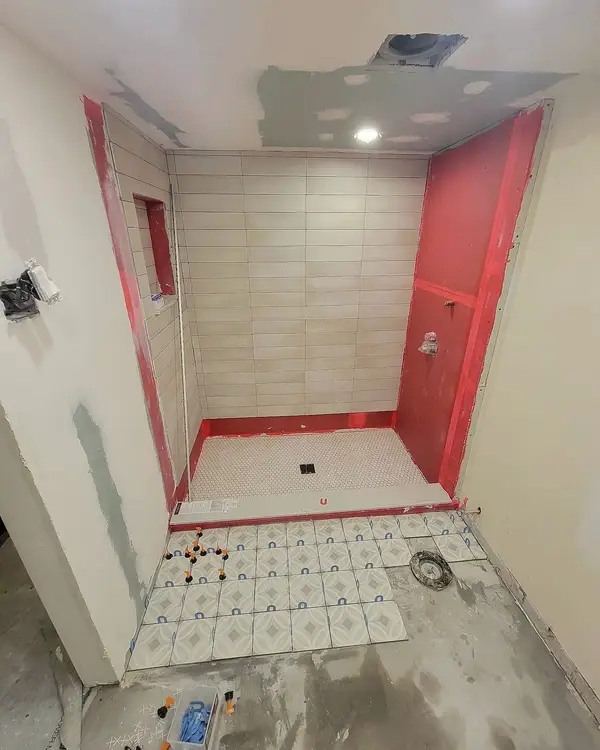
The layers you will never see, shown.
Every renovation has a finish and a foundation. This is how I build the foundation, and why I show it to you before it disappears.
Your tile isn't what keeps your shower dry.
A real basement bathroom in Toronto, photographed from the same corner at every stage. If your contractor can't show you stages 2 to 4, ask why.
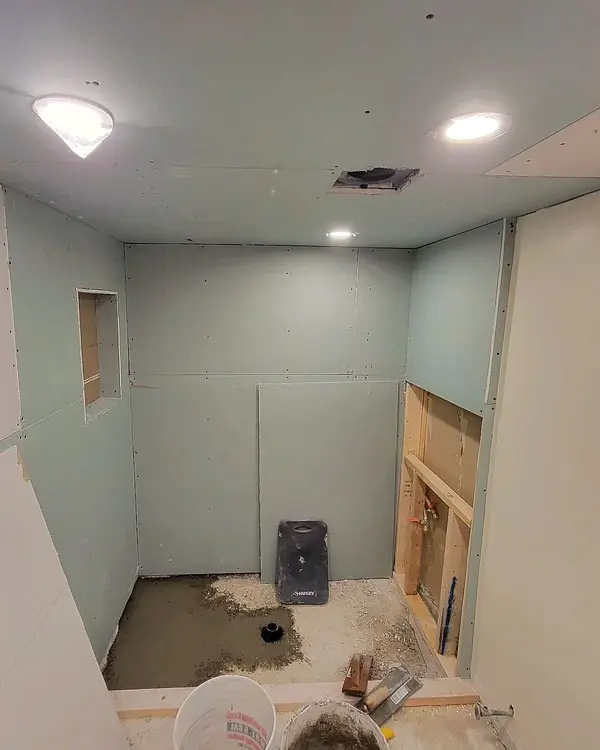 Stage 0101
Walls closed in
The shower walls are boarded and the niche is framed. It looks almost ready. Nothing here is waterproof yet.
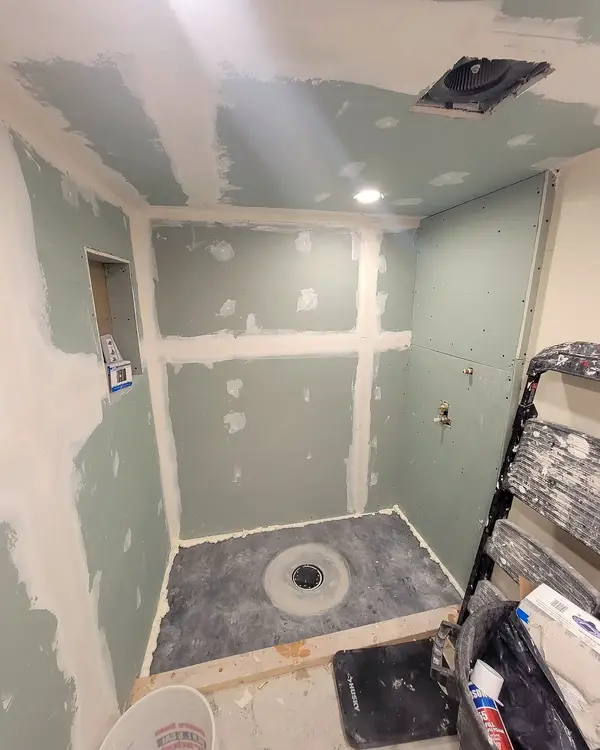 Stage 0202
Floor sloped to the drain
Water that gets past the grout has to go somewhere. On this floor, every drop runs to the drain.
- Stage 0303
Waterproofing (the red)
The red layer is the waterproofing membrane: walls, floor, corners and the niche. This is what keeps the house dry.
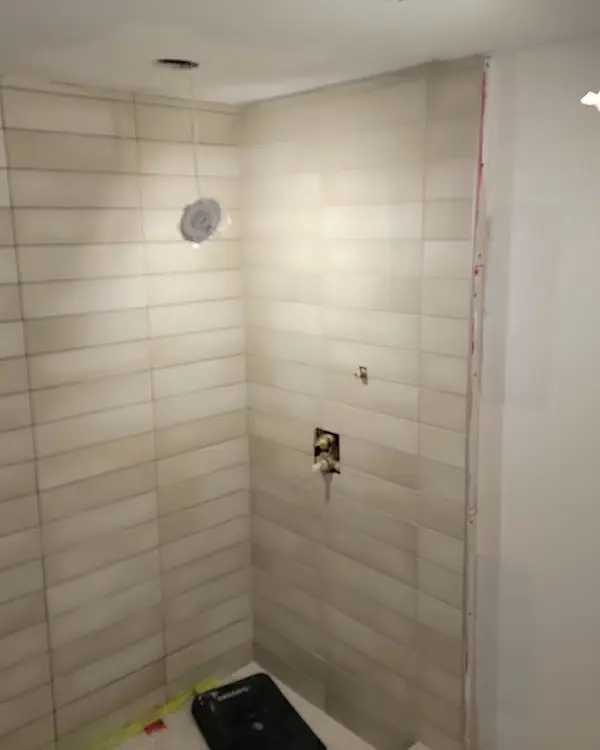 Stage 0404
Tile
The part everyone sees, and the part that does not keep the water out.
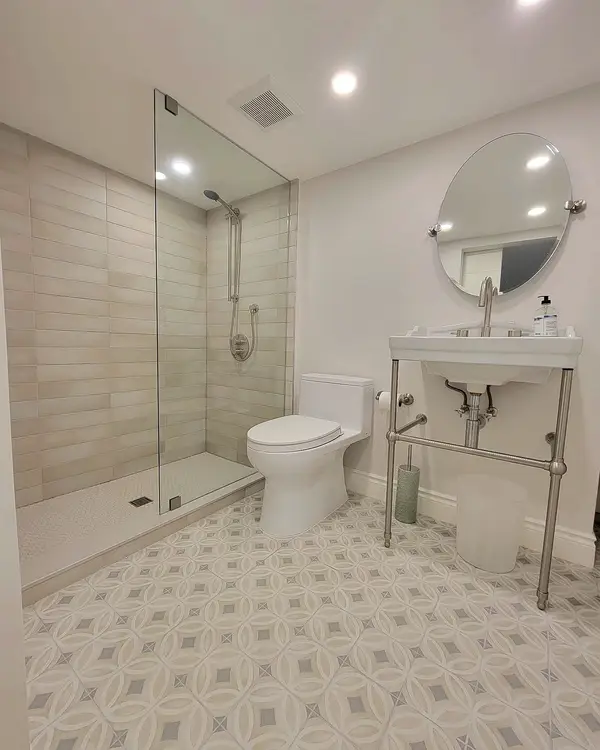 Stage 05
Done
Same corner. Every layer you just saw is still there. You just cannot see it anymore.
- Before the tile goes up, ask
- 1Is the floor sloped to the drain?
- 2What waterproofing goes on the walls?
- 3Can I see it before you tile?
If the answer to the last one is no, ask why.
Six steps, one crew.
- 01
Consultation
We talk about the room you want, look at the one you have, and I explain what it will take.
- 02
Detailed quote
You get a quote that spells out the work, so you know what you are paying for before we start.
- 03
Demolition
Down to the studs where needed, so we see what the last renovation left behind.
- 04
Rough-in
Plumbing, electrical and framing, set for the fixtures and layout you chose.
- 05
The hidden layers
Sloped floor, waterproofing, sealed niches. I show you before anything gets covered.
- 06
Tile and finishing
Tile, vanity, glass, fixtures, trim and paint, then a clean handover.
Behind the walls, in motion.
Short films from real DNU jobs. Same corner, every stage.
Frequently asked questions
Why do you show clients the work behind the walls?
Because once the tile is on, nobody can check it. The sloped floor and the waterproofing are what keep water out of your house, so you should see them while they are still visible.
What is the red layer in your showers?
On DNU jobs, the red layer is the waterproofing membrane. It goes over the walls and floor of the wet area before tile.
Is the shower floor sloped under the tile?
Yes. The floor under the tile falls toward the drain so water that gets through the grout drains away.
If you can dream it, we can build it.
Want to see it on your job?
Tell me about the room. I will walk you through what it takes, and give you a detailed quote.
Monthly payment plans available. How financing works